Tommy Parry Tommy Parry

Passing Etiquette: Making Space and Saving Face

Passing and braking are the last two things a driver learns to do well. We’ve broken down a series of basic rules to follow to help learn how to make the pass stick and how to do so safely.
Photos (unless specified otherwise): Trevor Ryan

Overtaking is a tricky business, and learning how to pass decisively and safely takes time and practice. It pays to err on the side of caution — especially with unknown drivers. After all, squabbling for position isn’t the most judicious thing to do when there’s no prize on the line. Nobody wins a track day.

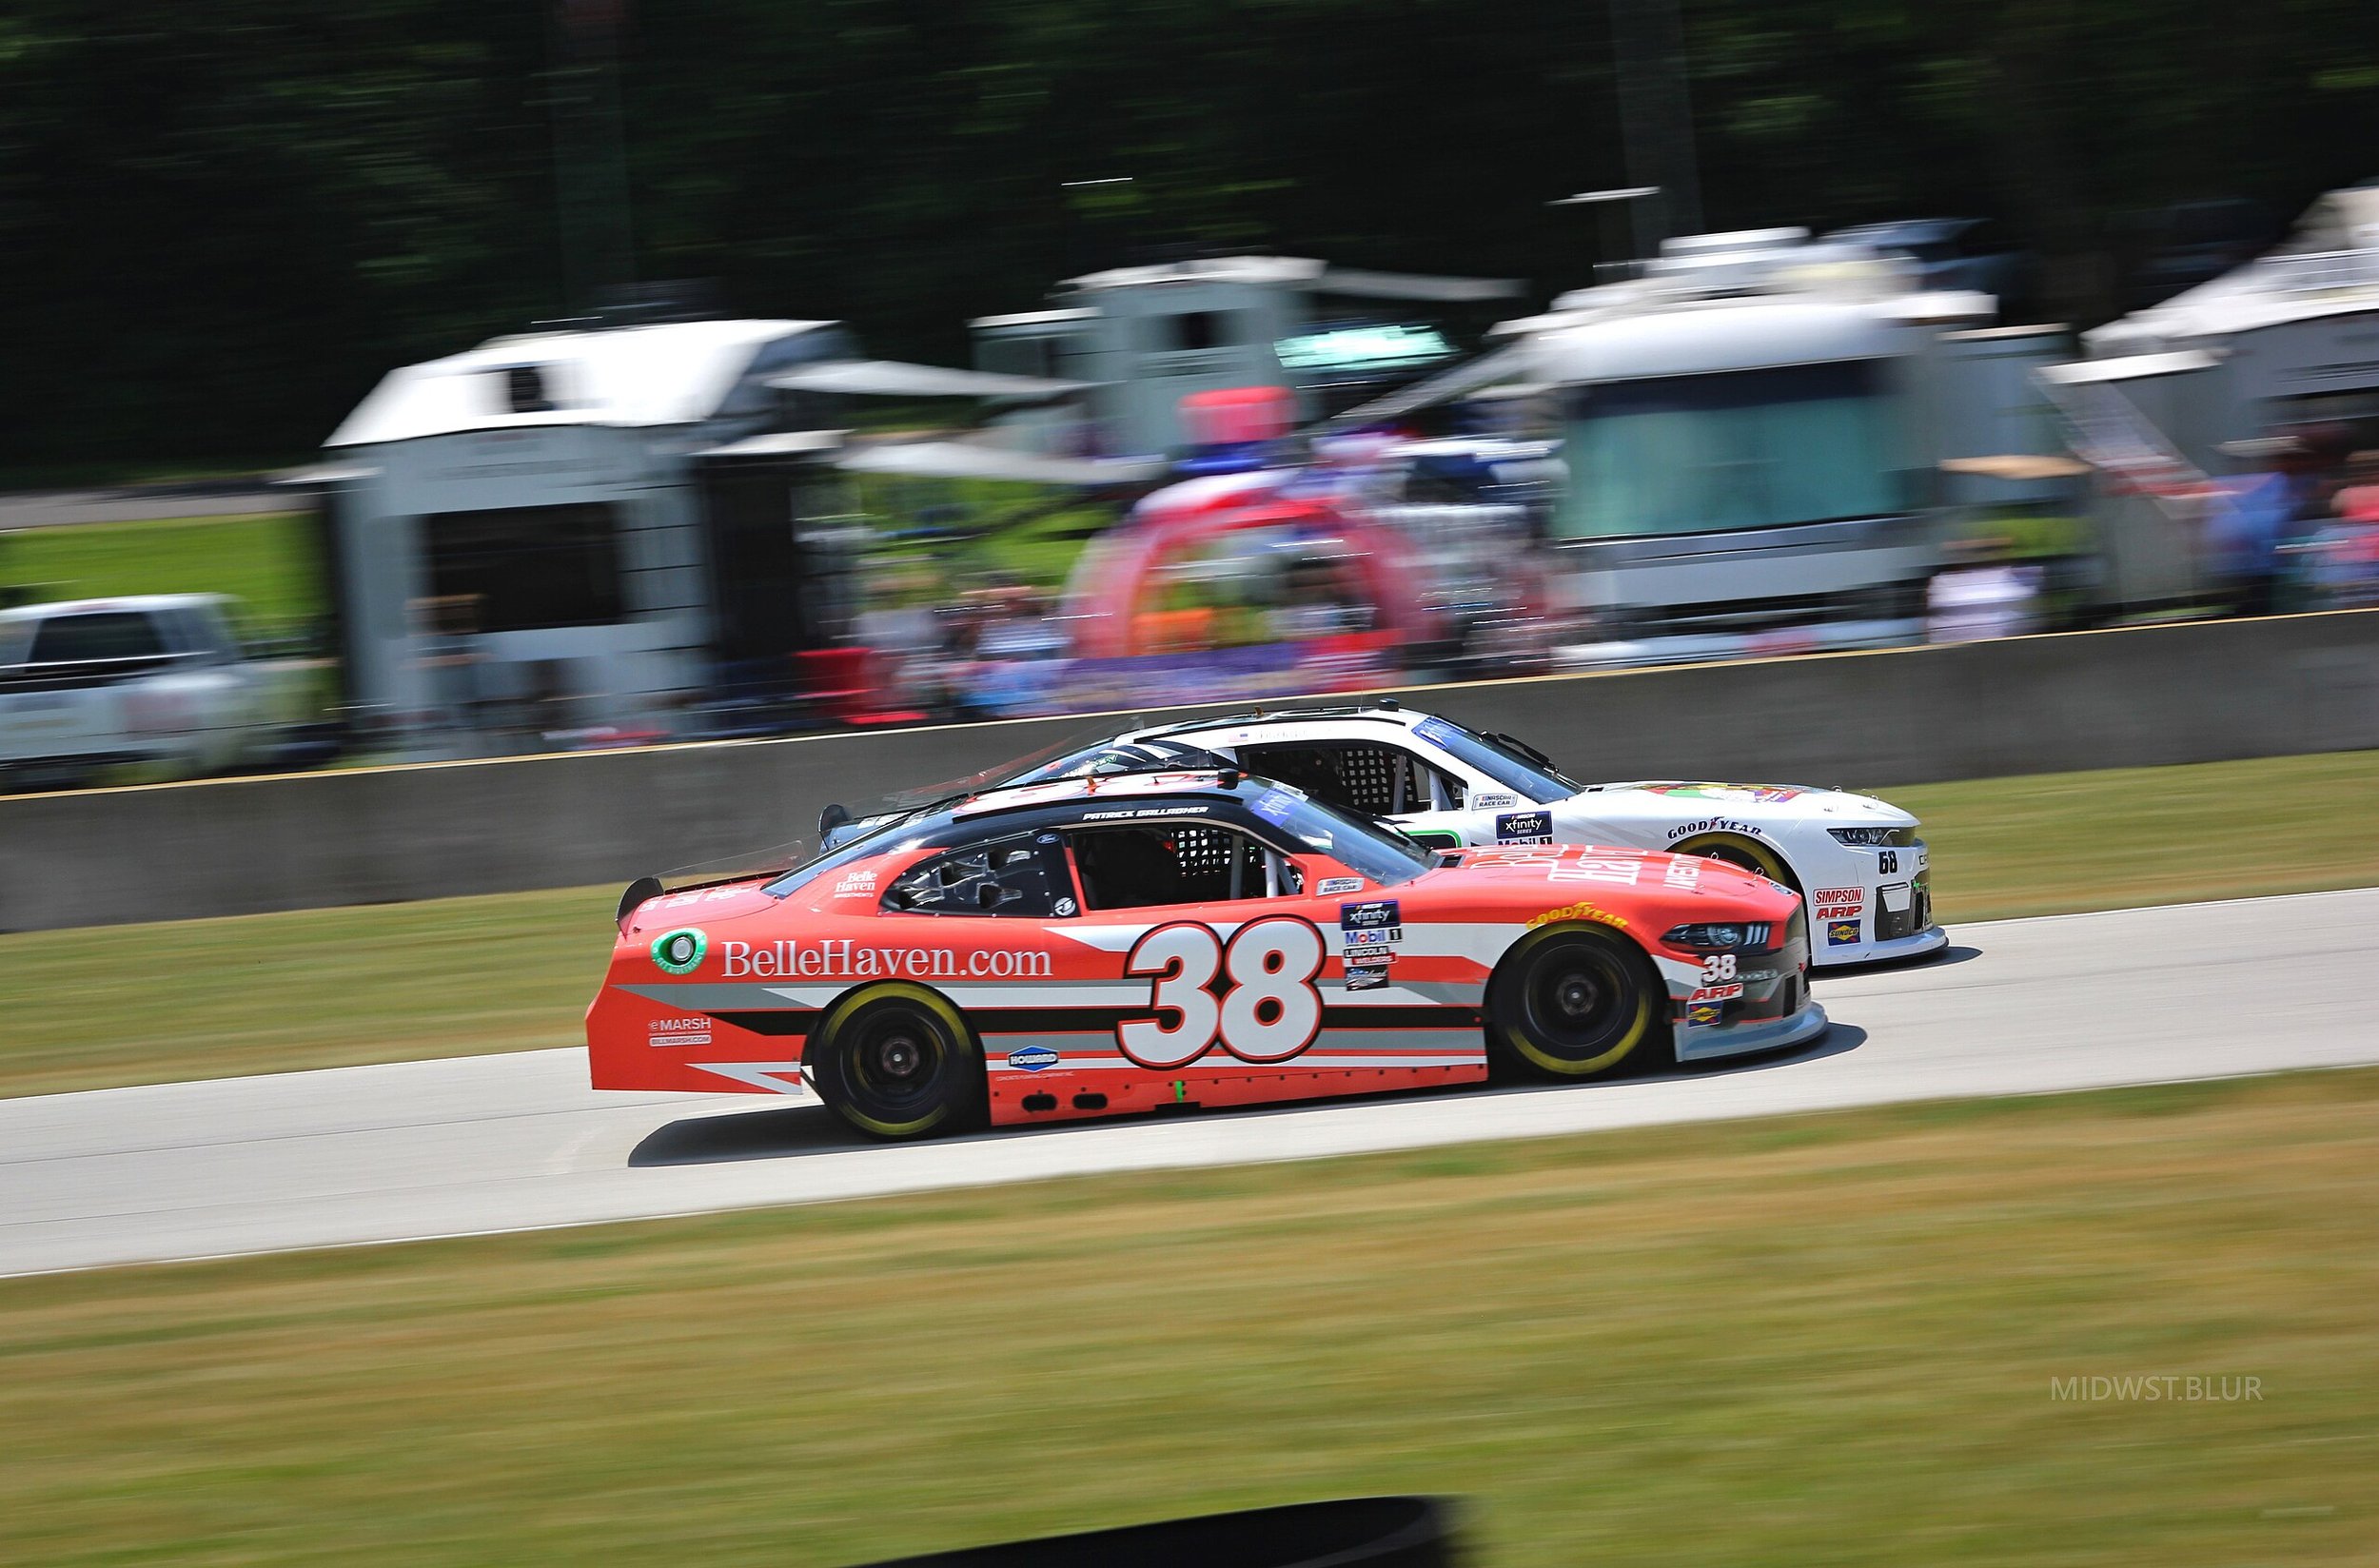
As a general rule in racing, the overtaker must present themselves alongside the driver in front — typically with the overtaking driver’s front wheels ahead of the overtaken driver’s rears before the turn-in point. This way, they’re able to see the other driver through their peripheral vision. Studying one’s surroundings and knowing where other cars are at all times is necessary to become a capable track driver.

It pays to be seen. Credit: CC-by-2.0/MIDWST.BLUR

Of course, this is a rule followed in wheel-to-wheel racing. With Speed SF, the passing car must have its front wheels in-line with the passed car’s front wheel before the beginning of the braking zone if they want to attempt a pass. It’s worth giving everyone a little more room since nobody can truly win at a track day, after all.

Our aim is to give all our drivers their own space and help the faster drivers safely navigate the slower traffic so nobody gets held up.

To give assertive advanced drivers the leeway to pass freely while allowing novices time and safety to ease their way into it, we have outlined some hard and fast rules for our various run groups. For those groups with stricter passing rules, like Green and Blue, the process of passing is made as simple as possible.

Novice Group (Green)

Responsible novices dedicate most of their mental energy to driving their own car, so they likely lack the bandwidth to watch their mirrors while driving. For this reason, we only allow passing on the designated straightaways — never through the middle of a corner — to simplify the mental burden. The courteous driver being passed should lift off the throttle to make life easier for the passing driver. This really helps when overtaking in a Miata.

When the driver being passed decides to lift off their throttle, they give the passing driver more room to complete this overtake prior to the braking zone, which is our second requirement. The passing driver should not be pressured into squeezing themselves down the inside at the turn-in point. Just because someone, especially a novice, gives the point by does not mean that a pass is possible; the passing driver must carefully judge whether it is going to work. If it’s doubtful the pass can’t work, back off — nobody wins a track day.

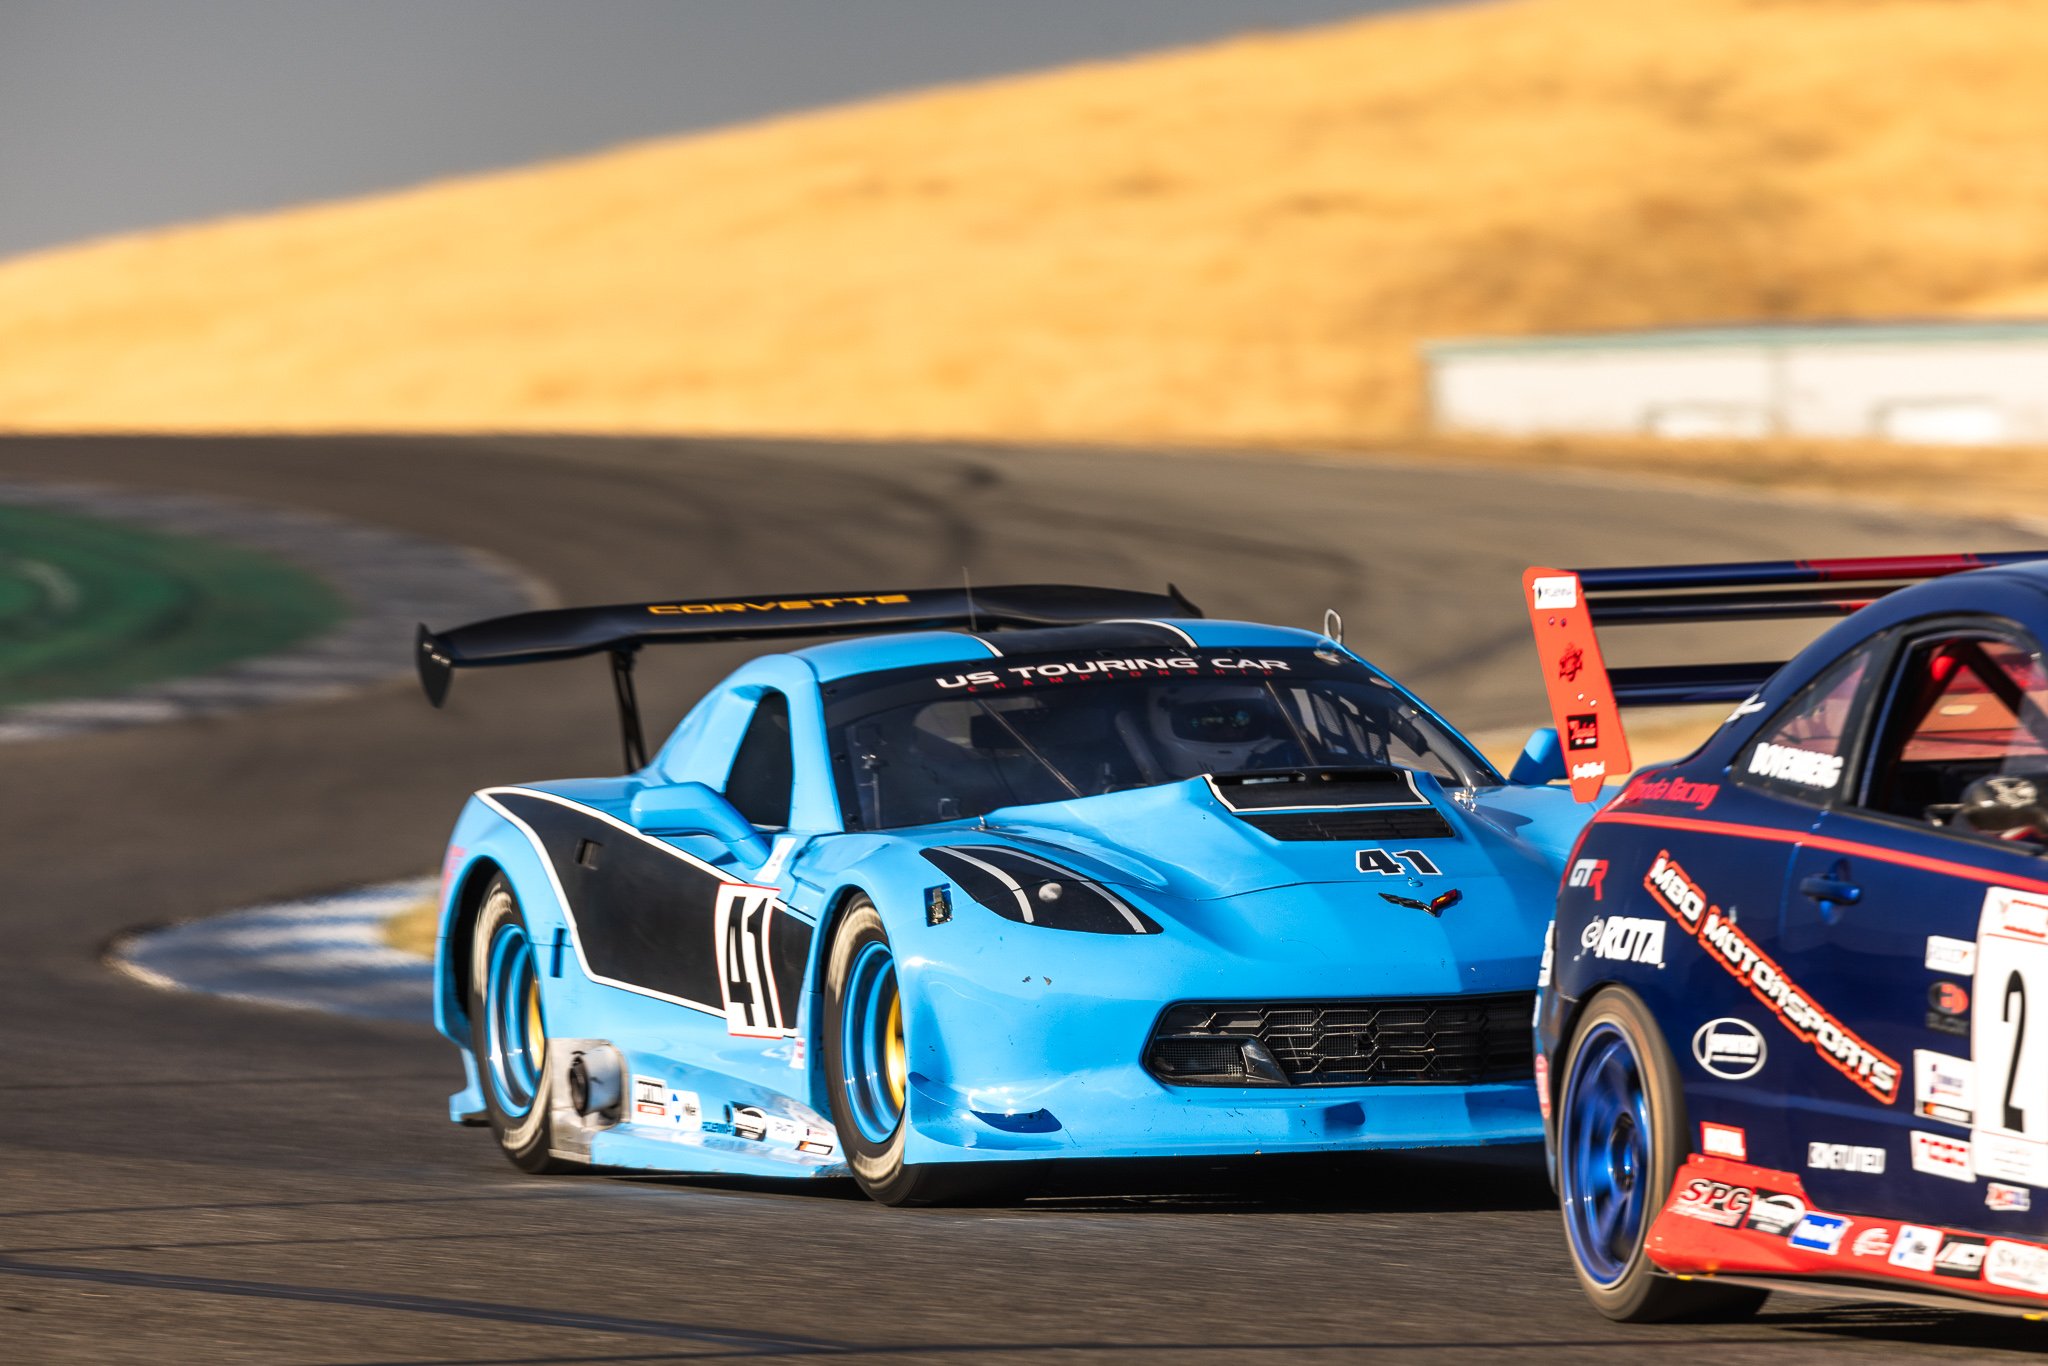
Keep an eye out for that point-by. Credit: OpenTrack

Generally speaking, we like the driver being passed to allow the passing driver to rejoin the conventional driving line before turning in. If they insist on turning into the corner from an inside line (ie. a line closer to the apex than the standard line), they must navigate a shorter radius and therefore reduce their entry speeds accordingly.

Because the novice’s situational awareness isn’t as great as a regular who instinctively checks their mirrors, we require the passing driver to wait for a specific gesture from the driver ahead. By leaning their left hand out the window (or right in a RHD car) and pointing at the portion of the track they’d prefer the overtaking driver to use while passing, they give a sign of recognition and avoid confusion. Wait for a clear signal, and preferably before a longish straightaway — it’s safest and easiest to pass there.

Intermediate Group (Blue)

Even with their experience, we want members of blue group to follow the same passing rules as the members of green.

HARD RULES: GREEN/BLUE

Point-by passing is required at all times. Under no circumstances is passing in the corners allowed, and passes along the straights must be completed before the braking zone.

Point-by Recommended/Mixed Group (Yellow):

After a dozen days or so, driving alongside others at a quick pace is no longer terrifying like it once was. We try to encourage these drivers to be assertive with their car placement so as to begin the two-part process of an advanced pass. Both parties must be aware of one another, and as long as there’s enough room to overtake safely, we allow passing without a hand signal. Though a point-by is still recommended to make sure everyone is aware, it isn’t required.

There are other ways to communicate reaching an arm outside the window. For instance, the driver being passed taps their rear-view mirror prior to the turn-in point (a common acknowledgement). This indicates that the driver attempting the pass is seen and will give way. The driver ahead can also offer a corner without signaling by slowing than necessary before turn-in, usually off the ideal line. If the driver behind sees the “door opening” and the driver ahead taking an odd line slowly into the corner, they will know they’ve been given a chance to pass.

When overtaking and turning in on a tighter line, remember more braking pressure (if braking is necessary) is likely required.

HARD RULES: YELLOW

The fundamental skill required to run in this group is strong situational awareness. Drivers are allowed to pass anywhere, but only at a moderate pace. Point-by passing is recommended, but not required. Exercise caution and make sure to read the driver ahead before attempting a pass.

Open Passing Group (Red + Gold):

Highly experienced drivers aren’t protected by such rules, which means they need to read the subtler signs of a driver giving way, learn how to pass decisively, and how to present themselves so as to be seen.

To run successfully in the Open Passing Group, you must know how to improvise with car placement while keeping the general level of grip in mind. Even while driving through a corner side by side, both drivers must be able to react and, hopefully, anticipate the other’s move.

Limited visibility and reduced grip make overtaking in the rain even more challenging. Remain patient and, due to the tricky conditions, avoid forcing the issue.

Of course, open passing doesn’t mean fighting for position like it would in a true race setting, but the increased level of competition typical in this run group

Assuming both parties can recognize each other’s position on track and drive in harmony, these sorts of overtakes can be done safely. They do, however, require a good deal of spatial awareness, decisiveness, car control, and forethought. For that reason, we only allow drivers with over twenty track days under their belt (or those holding a racing license) to join this group.

HARD RULES: RED/GOLD

Twenty-plus track days or racing license needed to partake. Must be experienced with open passing. No passing restrictions as long as drivers exercise good judgment.

Final Thoughts

Cooperation is the name of the game, so try to wait until a definite sign is given before attempting a pass. Make sure there’s adequate grip available to take a tighter line than the conventional line if that’s what the situation requires. The tighter the line, the more deceleration prior to the corner is required. Trailbraking helps here.

If a train of cars ahead makes life difficult for a faster driver bringing up the rear, they’re advised to pit momentarily to establish a gap. This makes life much easier and offers a better chance of achieving a personal best.

When deciding whether or not to attempt an overtake, remember that the passing car is always responsible for ensuring a safe pass. Even if the car ahead closes the door on the driver behind, it’s the latter’s fault. Leave a little space whenever possible and never squeeze somebody on a track day.

Keep eyes up at all times, scan the environment for faster and slower cars both and behind, and try not to fixate too much on rolling speed into the corner during an overtake. Instead, prioritize a strong exit. Well, the beginners should try to do this to avoid sliding off when overtaking on the inside. The experienced drivers know that, in racing, sometimes getting ahead of the driver in front is all that’s needed; an overtaken driver can’t always respond if the overtaking driver exits the corner slowly. Again, that’s racing, and this is track day driving, where the objective is to bring the car home in one piece.

Lastly, remember that there’s nothing to win here. Track days exist to help people gain experience running independently, so giving way to a faster driver when they’ve demonstrated superior speed is a mark of maturity. Yes, it might sting, particularly if they’re in a much slower car, but leave some room for humility and open the door — following a faster driver closely can be the best sort of instruction anyone can get.


Read More
Driving Technique Tommy Parry Driving Technique Tommy Parry

Braking Basics Explained: How to Find Time on the Anchors

Learning to slow the car is one of the hardest things to do.

Let’s break off a small piece and build a little confidence on the binders.

Jackie Stewart said that braking is the last thing a driver learns to do well, but that doesn’t mean we can’t start doing it decently now. There are some basic concepts to cover, and a little bit of technique to study, but the initiate should be able to digest every bit of it with a couple hours of practice.

We must make our inputs smoothly. This is a tenet of racing taught by every single racing school and track day outfit across the world. However, if not fully explained, it might mislead drivers in the braking department somewhat. True, the brake pedal is released smoothly, but the initial application of the brake should be done as forcefully and deliberately as the grip available will allow.

Threshold Braking

As the car is moving quickly, it has more weight to transfer to the front axle than it has at a slower speed. Therefore, the initial phase of the braking zone—we can divide it into three phases—is where the brunt of the braking takes place. Transferring this weight to the front presses the front tires into the pavement, thereby giving the front axle lots of grip. As the speed bleeds off, our overall level of grip diminishes somewhat and we need to release the pedal accordingly.

Credit: the-contact-patch.com

We try to keep the car straight, build up to peak braking pressure almost immediately and maintain this pressure for a period of time. As we get nearer to the turn-in point, we will begin to release the brake pressure slightly until we’re able to fully release the brake pedal and either coast or begin to reapply the throttle. This is threshold braking in a nutshell.

To be clear, this doesn’t mean we necessarily stab the brake as hard as possible, but instead of building up the pressure linearly, we try to reach peak pressure very early in the braking zone. The softer the suspension and the lower the grip level, the more gradually we need to build this pressure up, but even in a stock Volvo, the ramp builds relatively rapidly, then tapers off.

Overcoming Fear

Pushing the brakes to the point of lockup worries some drivers, and rightly so. However, it is something which can be overcome. What we need is a sense of how much grip is available for braking, and what we must do if we apply more braking pressure than the tires can handle.

If we have ABS, we can use it as a tool to show us where the limit is. Find a longer straightaway, ensure nobody’s behind, and then apply the brakes as forcefully as we dare. Eventually, we’ll feel the ABS intervene. The more sensitive drivers will notice how the ABS intervention point will change depending on how warm the tires are. If they’re cold, it is fairly easy to trigger the ABS, or, for those of us without ABS, lock tires.

We tend to recall force application and resistance levels quite well, which means that a few stabs at the middle pedal, assuming we’ve got our analytical minds working, will give a good idea of how hard we can brake—and we can replicate this corner after corner. If we’ve got the mental reserves to observe how well our car slows, we can begin to approximate just how long we need before our car slows to a reasonable speed.

If we overdo it, we must cadence brake. This is true whether we have basic ABS or not. Cadence braking is the process by which we relieve the braking system of some pressure to allow the tires to roll again.

Photo credit: gran-turismo.com

While reducing the braking pressure mid-lockup seems counterintuitive to the beginner who’s terrified their car isn’t slowing as fast as it usually does, it’s not as scary once it’s been practiced a bit. Once we sense the fronts have locked, relieve the pedal of some pressure until the tires begin to roll again, then press it again. Some pump the brake, while others roll their toes inside their driving shoes. Either technique works.

There are two things to remember during a lockup:

  • We must unlock the tires quickly. Not everybody has the presence of mind to accept that their tires are locked, but the sooner we can react to that telltale shriek or a noticeable slide during braking, the sooner we can address the problem.

  • Once the tires are rolling freely again, we must reapply enough pedal pressure to slow the car, but not so much to re-lock them.

The first attempts might result in embarrassment and a flat spot or two, but those are small potatoes compared to head-on with the wall.

Of course, it helps to have some wiggle room when getting acquainted with this counterintuitive technique, so finding a safe spot with plenty of runoff is important.

To figure out where to actually brake, we should start by braking on the verge of lockup or at the point of ABS activation. If we brake hard at certain point and we’re still over-slowing the corner, we have a lot of space left. 

The next lap, we should move the braking point several feet deeper and brake hard again. Using that same brake pressure, we push the point nearer to the corner until we're almost missing our turn-in point. Then, we smoothen the brake release and balance the car toward the apex. Now we know the real braking point.

Saving a Spin

We must also recognize the time to embrace full lockup. There are occasions when, due to low-grip conditions, an unbalanced platform, and/or poor vision, improper braking will cause a spin. In these instances, we must remember to try and use all the braking power at our disposal to slow the car. “In a spin, two feet in,” the old adage goes.

Though the previous section explained how to avoid excessive lockup to continue going quickly, once we’ve gotten into an irrecoverable spin, our objective changes—we aim to avoid hitting anything stationary. To do this, we need to lock our brakes to bring ourselves to a halt as quickly as possible; the time for cadence braking is long past us.

Unfortunately for ABS-equipped cars, the ability to fully lock the wheels under deceleration is, at best, limited.

The Right Dose

Cadence braking is not always appropriate. Certain corners do not require much deceleration, and will often punish it. A fast kink usually does not need this sort of abrupt application because the emphasis at higher speeds is on maintaining a “flat” platform. Braking too hard will shift the weight forward, thereby unloading the rear and promoting some instability. Instead, we “rub” the brake in preparation for these faster corners if any braking is necessary.

A shorter, softer application of the brake is what’s needed—and a spike of pressure must be avoided. As we turn into the corner, we will typically return to the throttle to help stabilize the rear. Whereas lockup is the issue we typically concern ourselves with in slower corners, destabilizing the rear is what we must avoid when nudging a car gently into faster corners that do not require us to bleed off much speed.

Credit: driver61.com

Generally speaking, the faster the corner/the more obtuse its angle, the less a major deceleration moment is beneficial. In other words, the speed change required is usually minimal in these types of corners. Therefore, the braking moment must be relatively short and gentle so as not to overslow the car and to avoid loading the nose too heavily. Prolonged unloading of the rear at higher speeds is likely to destabilize the car, as it is more pitch sensitive at higher speeds.

Loading the Nose to Facilitate Rotation

There are times when loading the nose for a long period of time and encouraging a little rotation at the rear is beneficial—usually when entering a slow, tightening corner where some mid-corner yaw will help straighten the car sooner. Because the corner is relatively slow, this slide will not incur serious penalties if it gets out of hand; slides are more easily caught at slower speeds.

Unfortunately, delving deeper into this will have to wait. This falls into the realm of trail-braking: an advanced technique which deserves an article of its own. Hold your horses—we’ll get there soon enough. Until then, get out there and find some time by stepping on the anchors a little more assertively.


Read More