

SpeedSF Blog
Every Build Has a Story – Meet the Cars of SpeedSF

Fan’s NC Miata: Truncating Ten Years
Proper planning and dedication to simulator racing helped Fan learn the skills needed to run fast laps in roughly a third of the time it takes people without a well-researched plan. Now, he laps Laguna Seca in this mildly modified MX-5 in the 1:45-range.
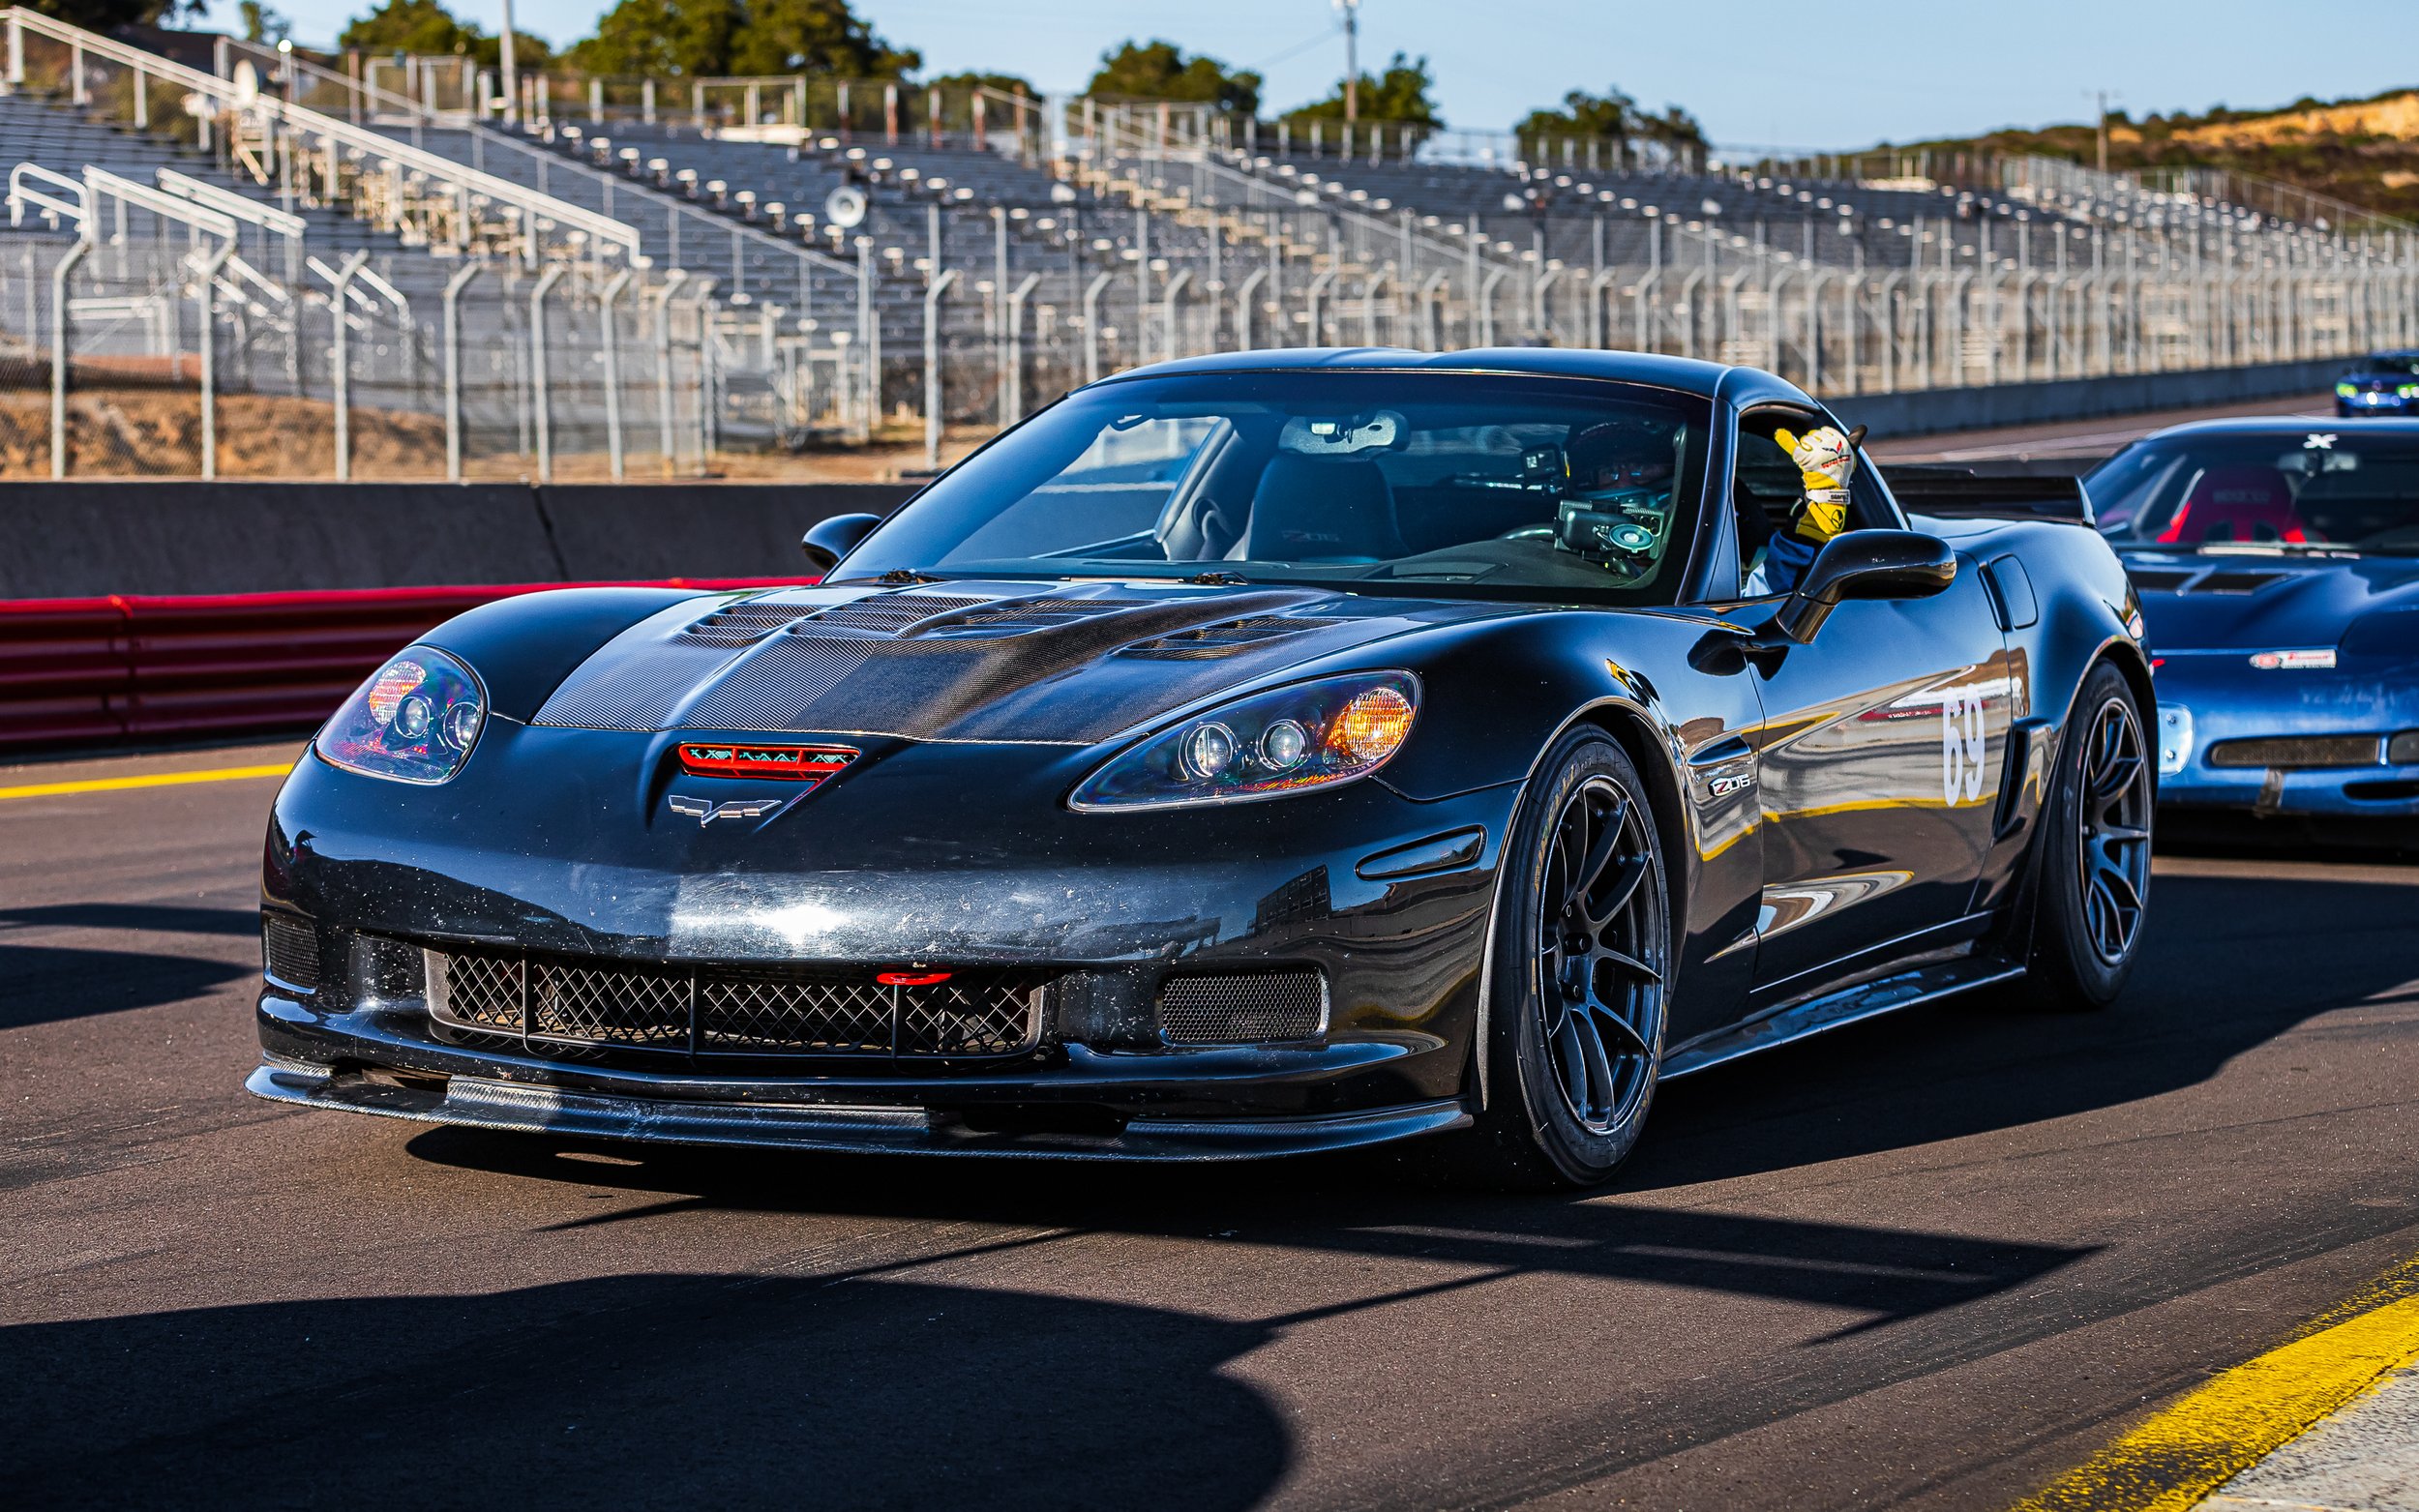
Cody’s C6 Z06: Father-Son Duo Builds Best Of Both Worlds
Some claim a true street-track car can't be good at anything, but Cody Bulkley thinks otherwise. His background in FSAE and his current role with GM have given him special setup insight to help strike that elusive balance between race car and street car, which is reflected in the performance and versatility of this C6 Z06.

CSG Brake Pads: Details Make the Difference
Thanks to a detailed feedback loop between CounterSpace Garage and their wide array of active customers, they've been able to provide a usable, confidence-inspiring brake pad for every popular HPDE platform today.
Passing Etiquette: Making Space and Saving Face
Passing and braking are the last two things a driver learns to do well. We’ve broken down a series of basic rules to follow to help learn how to make the pass stick and how to do so safely.

Peter's 2JZ-Swapped S13: Tweaking the Famous Drift Recipe
A succession of SR20 failures led to Peter Hong swapping a 2JZ into his Nissan S13. Though the new motor has saved him from some headaches, the bump in power has made the car into more of a drifter than it ever was.
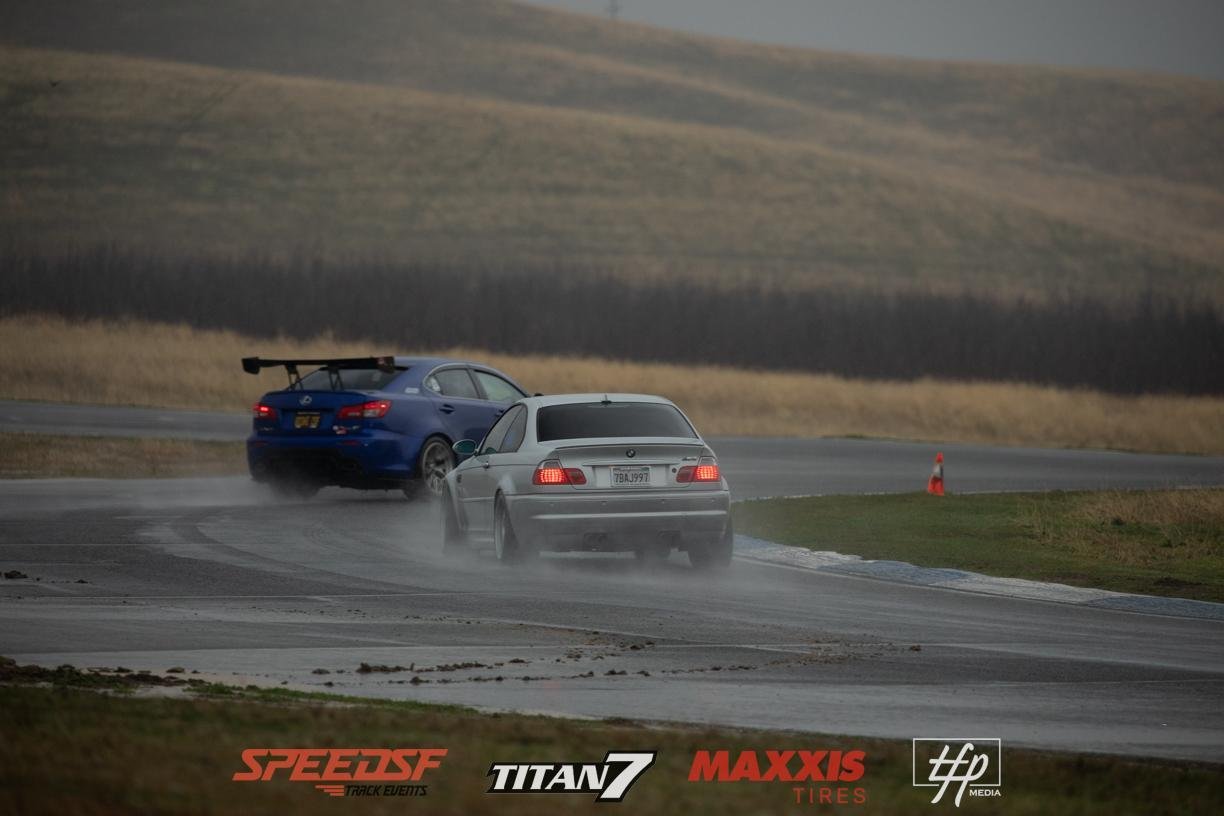
A Simple Guide to Driving in the Rain
It might intimidate some, but driving in the wet/low-grip conditions is one of the best ways to improve as a driver. Here are some simple tips to remember next time the heavens open on your track day.

Kevin Schweigert's GR86: Back to Basics
After several unfulfilling years spent chasing big power, Kevin’s realized that the quality he most appreciates in a sports car is its incisiveness and communication. After a return to a simple, agile GR86, he found that thrill that got him obsessed with trackday driving in the first place.

Seigo Ma's S2000: Grip and Reassurance
Aiming for a place at the sharp end of S3, Seigo Ma turned this S2000 into a predictable, reassuring machine he could lean on without fear. With a lot of aero grip, the S2000 is sticky enough to chase down cars twice as grunty.

A No-Compromise Toyota MR2 Named Frog
After finding the limits of his FR-S, Joe McGuigan wanted something even pointier. This superliight midship provided him with all the mid-corner adjustability that the previous car couldn’t.

SPEEDSF CHALLENGE - SEPTEMBER 22, 2019 - ROUND 10 @ THUNDERHILL RACEWAY - WEST
Bunch of fools in this group - Three drivers, three podium-placers! Andrie Hartanto drove some type of vehicle to take home 1st place! Andrie and the invisimobile drove levitated or something around Thunderhill West and used its magic powers to get a 01:20.795. This was obviously more of the car than the driver so let’s just take this with a grain of salt. A REAL driver by the name of Gary Yeung, piloted his Dirty Mango S2000, taking home 2nd place thanks to his 01:20.795, just a hair slower than the 1st place guy in the Mystery Machine. 3rd place finisher Gary Wong took a wrong-wheel drive Honda around the circuit for a 01:23.042 lap time. Probably faster than his Dirty Coconut S2000, tbh.
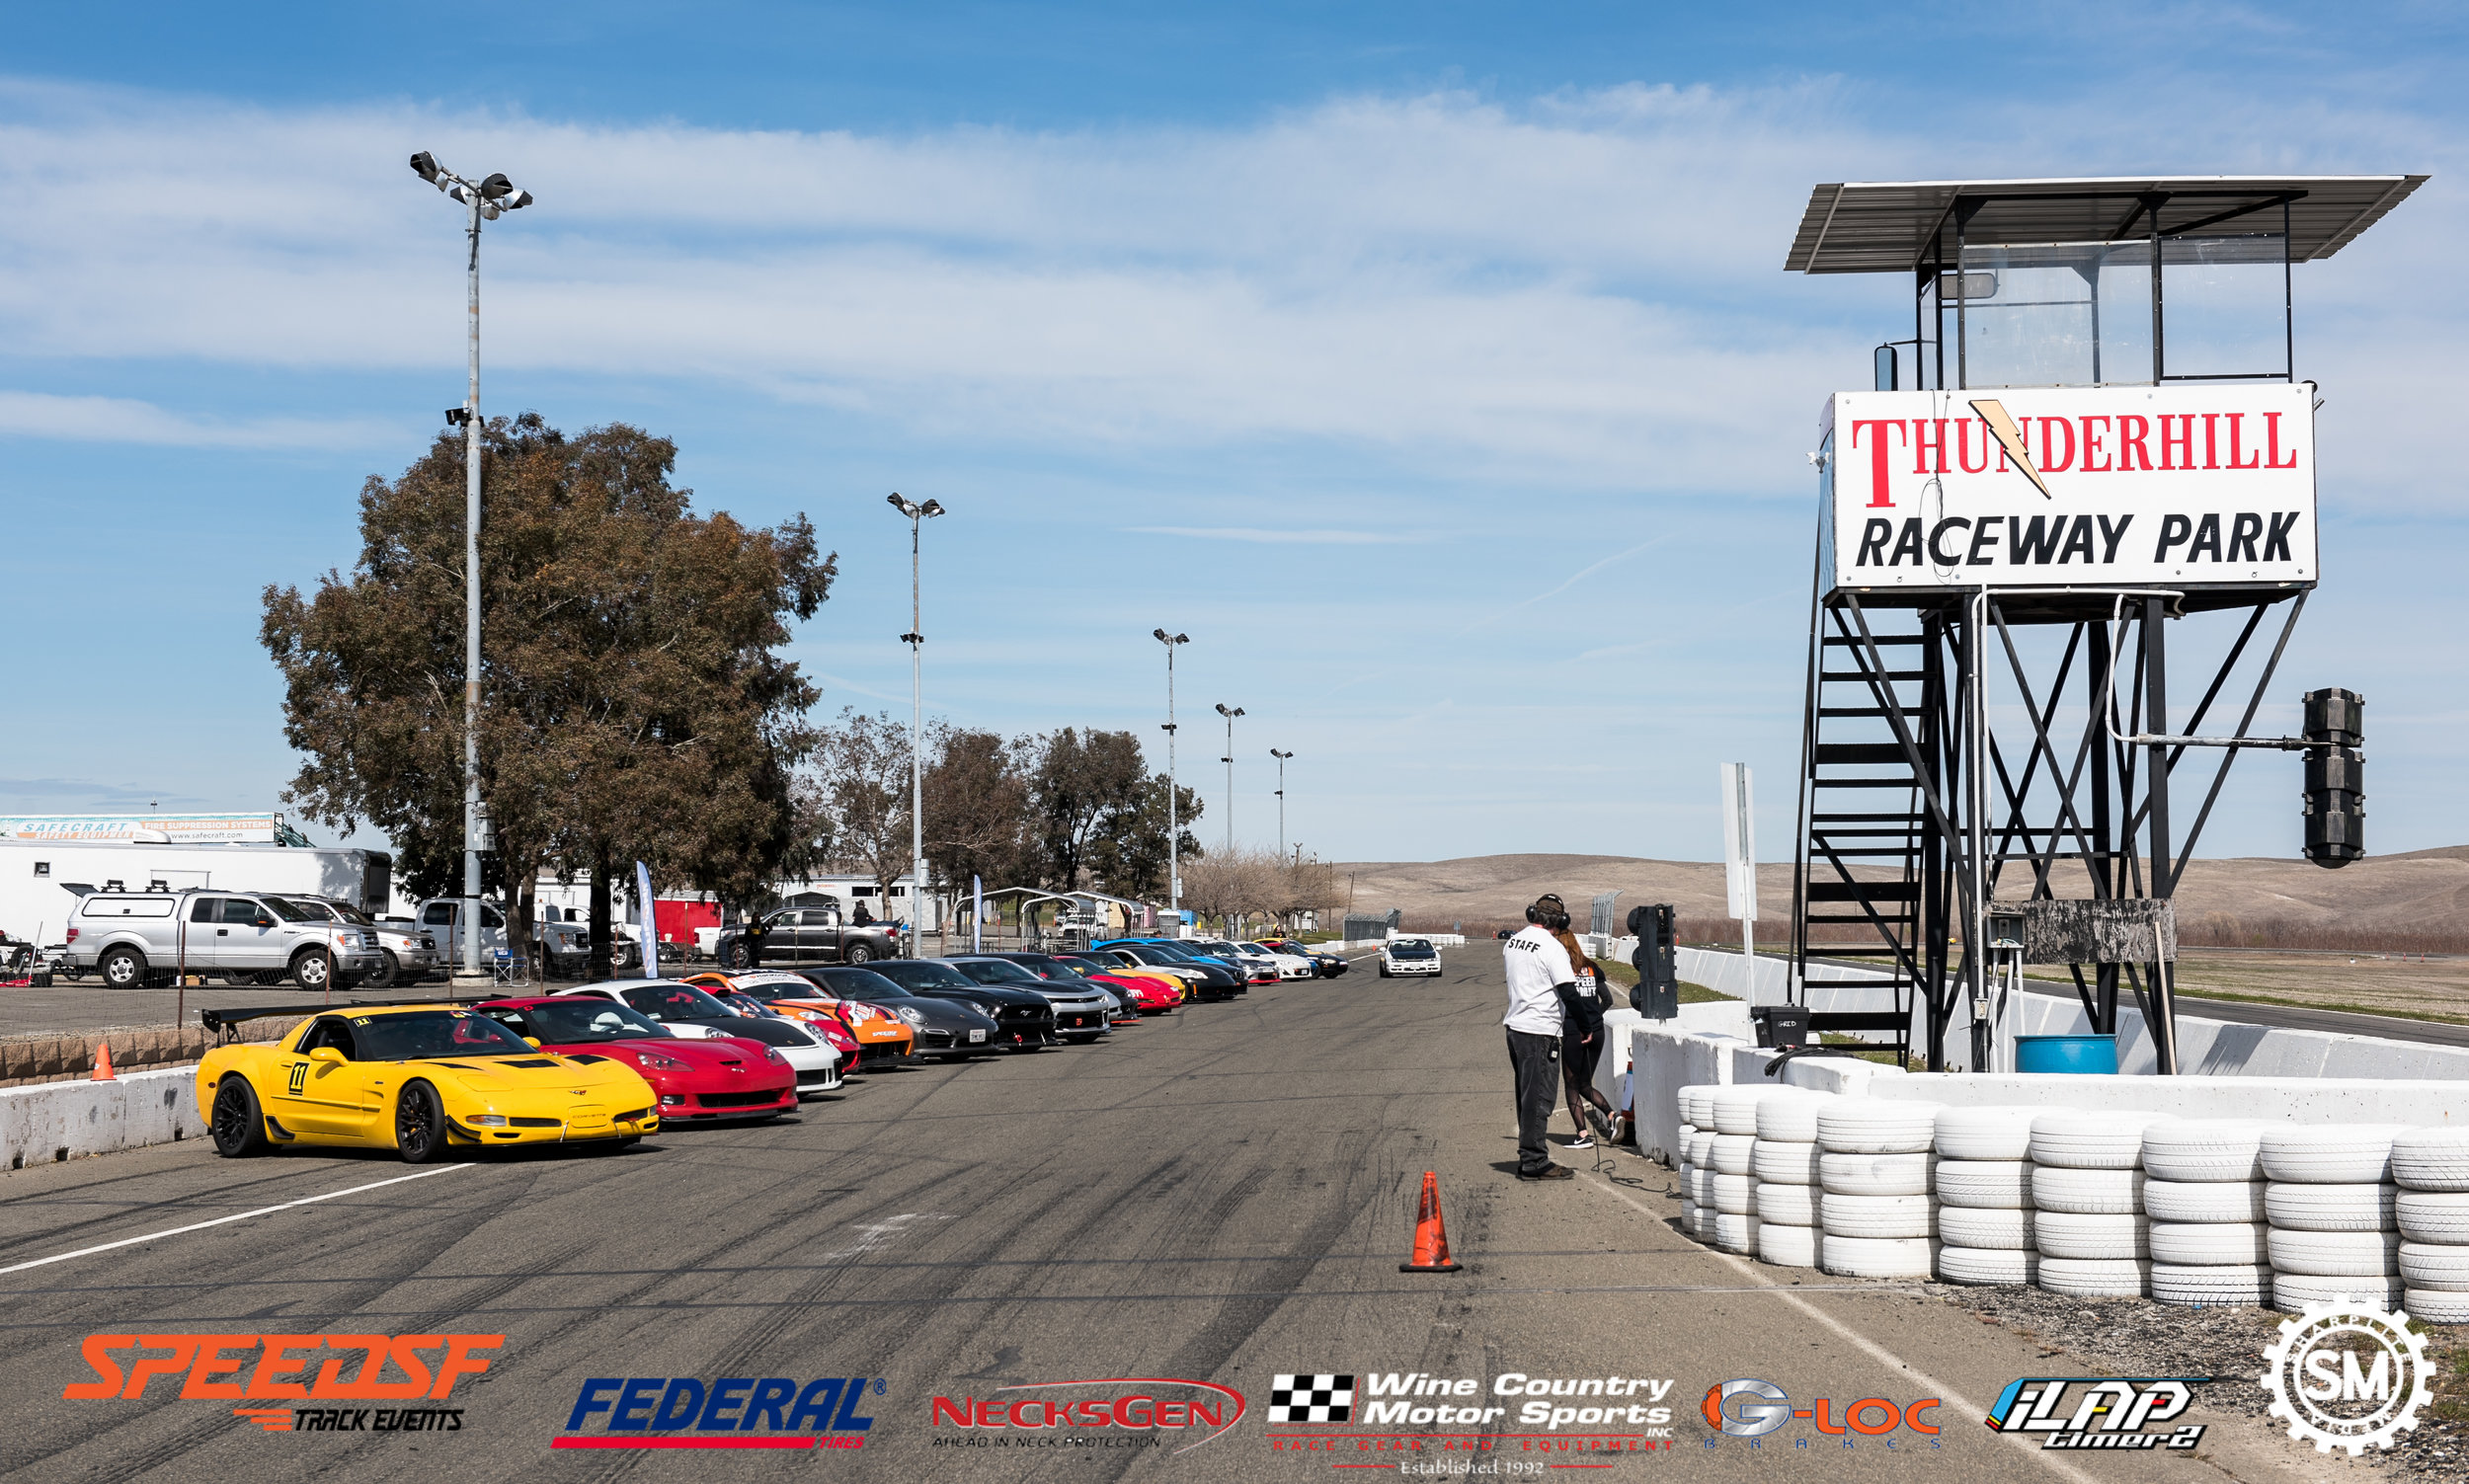
Federal Tires SpeedSF Challenge @ Thunderhill Raceway - February 25, 2018 - Round 2
Round 2 of the SpeedSF Challenge was feaured at the world-class facility known as Thunderhill Raceway in Willows, CA.